If you're a crafter, you know how frustrating it can be to cut out intricate designs with your Cricut machine, only to have them fall apart when you try to transfer them onto your project. That's where transfer tape comes in. In this article, we'll show you how to use Cricut transfer tape to make your crafting life a lot easier.
Common Challenges with Transfer Tape
If you've ever tried to use transfer tape, you know that it can be a little tricky to use. Some common issues include the vinyl sticking to the backing paper instead of the tape, or the tape not sticking to your project surface. It can also be frustrating to get your design lined up exactly where you want it without it becoming crooked or off-center.
How to Use Transfer Tape with Cricut Vinyl
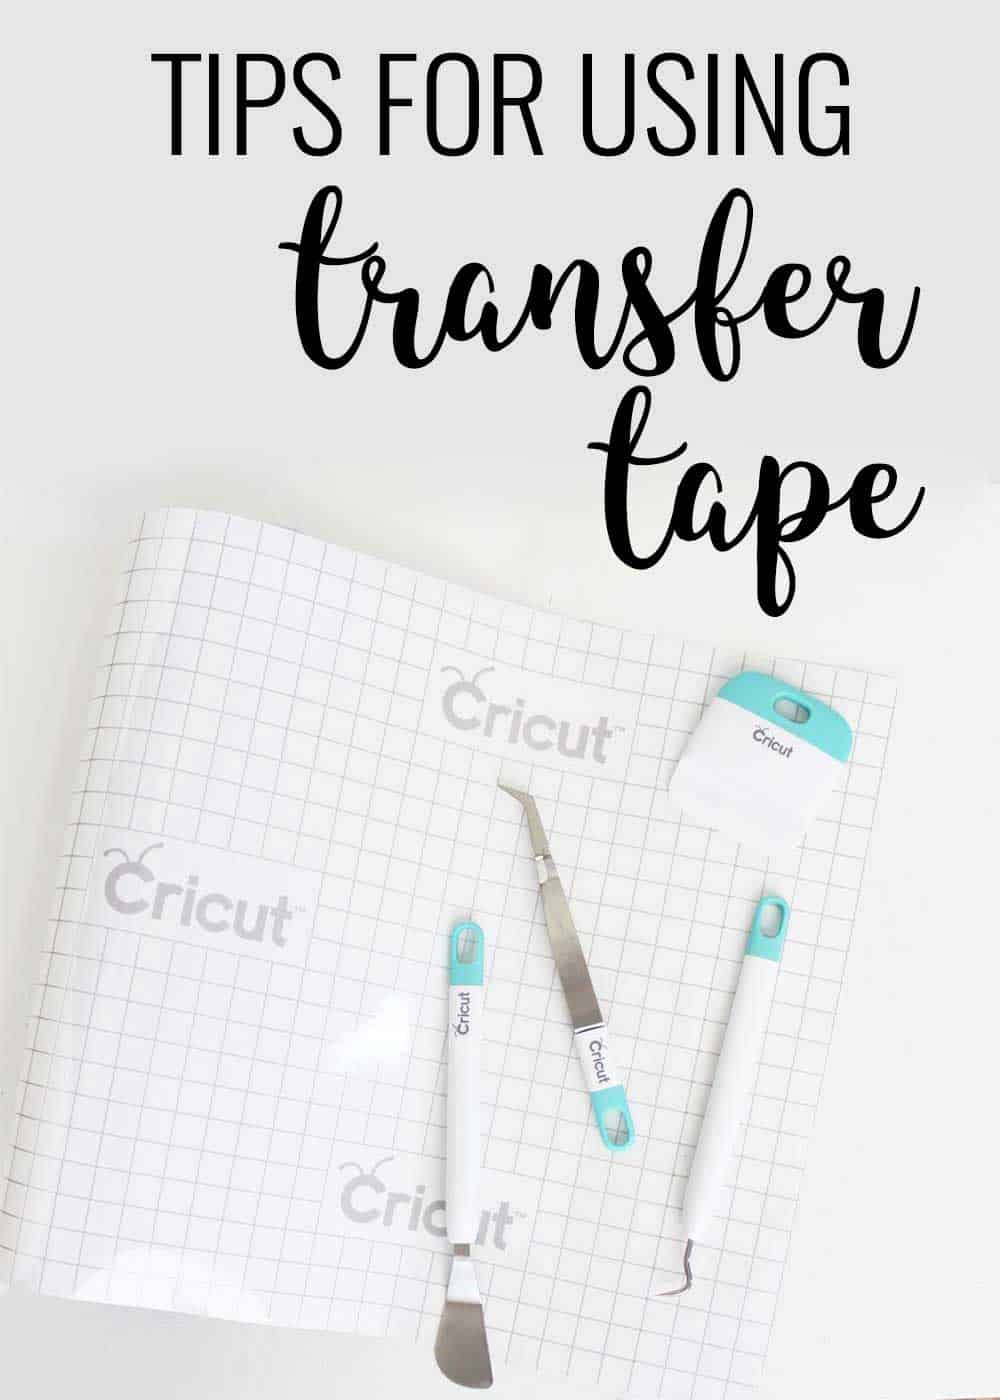
The first step to using Cricut transfer tape is to cut out your design from the vinyl using your Cricut machine. Once you've weeded out the extra vinyl, cut a piece of transfer tape to size and apply it to the top of the vinyl, using a scraper tool to smooth it out and remove any bubbles. Then, slowly peel the transfer tape away from the backing paper, making sure that your vinyl sticks to the transfer tape.
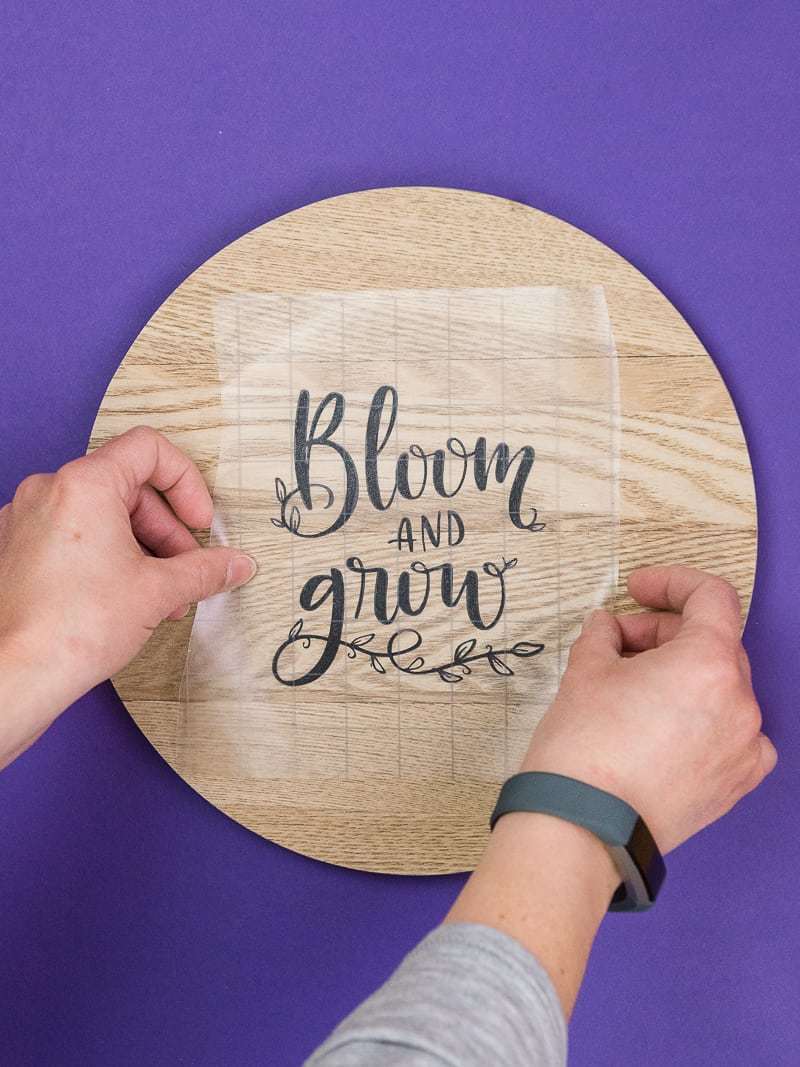
Next, position the transfer tape and vinyl onto your project surface, smoothing out any bubbles and making sure that it's exactly where you want it. Once you're happy with the placement, use the scraper tool to smooth out the vinyl and transfer tape, making sure that the vinyl is adhered to the project surface. Finally, slowly remove the transfer tape, leaving the vinyl design in place on your project. And that's it!
Summary of Main Points
In this post, we've covered how to use Cricut transfer tape to make your crafting life easier. We've explored common challenges with transfer tape, and given step-by-step instructions on how to use it with your Cricut vinyl designs. Don't let transfer tape woes ruin your crafting fun – with these tips, you'll be a transfer tape pro in no time.
Working with Tricky Designs
If you're working with a particularly intricate design, or if you're having trouble getting the transfer tape to stick to your project, there are a couple of tricks you can try. First, try cutting your design into smaller pieces and transferring them separately – this can make it easier to get everything lined up exactly where you want it. Another tip is to warm up the transfer tape slightly with a hair dryer or heat gun – this can help it stick better to your project surface.
Using Transfer Tape with Multiple Colors
If you're working with a design that has multiple colors, you'll need to use multiple pieces of transfer tape to transfer each color onto your project surface. Cut out each color separately, and transfer it onto your project using the steps outlined above. Once you've transferred all colors, you can use a scraper tool to smooth out any edges and make sure everything looks seamless.
Adding Texture to Your Designs
If you want to add some extra texture to your vinyl designs, try using a textured transfer tape. This will give your designs a unique, 3D look that will really make them stand out. You can also experiment with different colors and finishes of transfer tape to customize your designs even more.
Question and Answer
Q: How do I know which transfer tape to use?A: The type of transfer tape you use will depend on the type of vinyl you're using, as well as the size and complexity of your design. Generally speaking, you'll want to use a medium-tack transfer tape for most vinyl projects. If you're working with glitter vinyl, you may want to use a high-tack transfer tape to ensure that it sticks properly. Q: Can I reuse transfer tape?
A: It's generally not recommended to reuse transfer tape – once it's been used, it can be difficult to get any remaining vinyl off of it, which can cause issues when transferring your next design. It's best to use a fresh piece of transfer tape each time. Q: Can I use transfer tape for other crafting projects?
A: While transfer tape is primarily used for transferring vinyl designs, it can be used for other crafting projects as well. For example, you can use it to transfer paper or cardstock designs onto your project surface. Q: How can I avoid getting air bubbles when using transfer tape?
A: To avoid getting air bubbles, make sure to smooth out the transfer tape as you apply it to your project surface. Use a scraper tool to work out any bubbles, starting from the center of the design and working your way outwards.
Conclusion of Cricut How to Use Transfer Tape
Using transfer tape with your Cricut machine may seem daunting at first, but with a little practice, you'll be a pro in no time. By following the steps outlined in this article, you can avoid common transfer tape issues and ensure that your vinyl designs come out looking flawless every time. With a little creativity, you can take your crafting projects to the next level with the help of transfer tape.
Related Images
Super Affordable Cricut Transfer Tape Alternative! | Transfer Tape

How To Use Transfer Tape With Cricut Vinyl | Cricut Projects Vinyl

How To Use Transfer Tape With Your Silhouette Or Cricut Projects
How To Use Cricut Transfer Tape - Pretty Providence
31++ Do You Use Transfer Tape For Iron On Vinyl Inspirations | This Is Edit

