The Ultimate Guide on Cricut How to Use Transfer Paper
Are you struggling to create perfect designs with your Cricut machine? Do you feel like you're wasting too much transfer paper? Using transfer paper with your Cricut machine may seem like a daunting task, but it doesn't have to be. In this guide, we will show you how to use transfer paper without any hassle and get the most out of your Cricut machine.
The purpose of transfer paper is to transfer your designs from the cutting mat to your final project. However, if you're not using the right transfer paper or not using it correctly, you may run into various issues, like your designs peeling off or not sticking correctly, to name a few. So, it's crucial to understand how to use transfer paper to avoid such problems and make your projects look flawless.
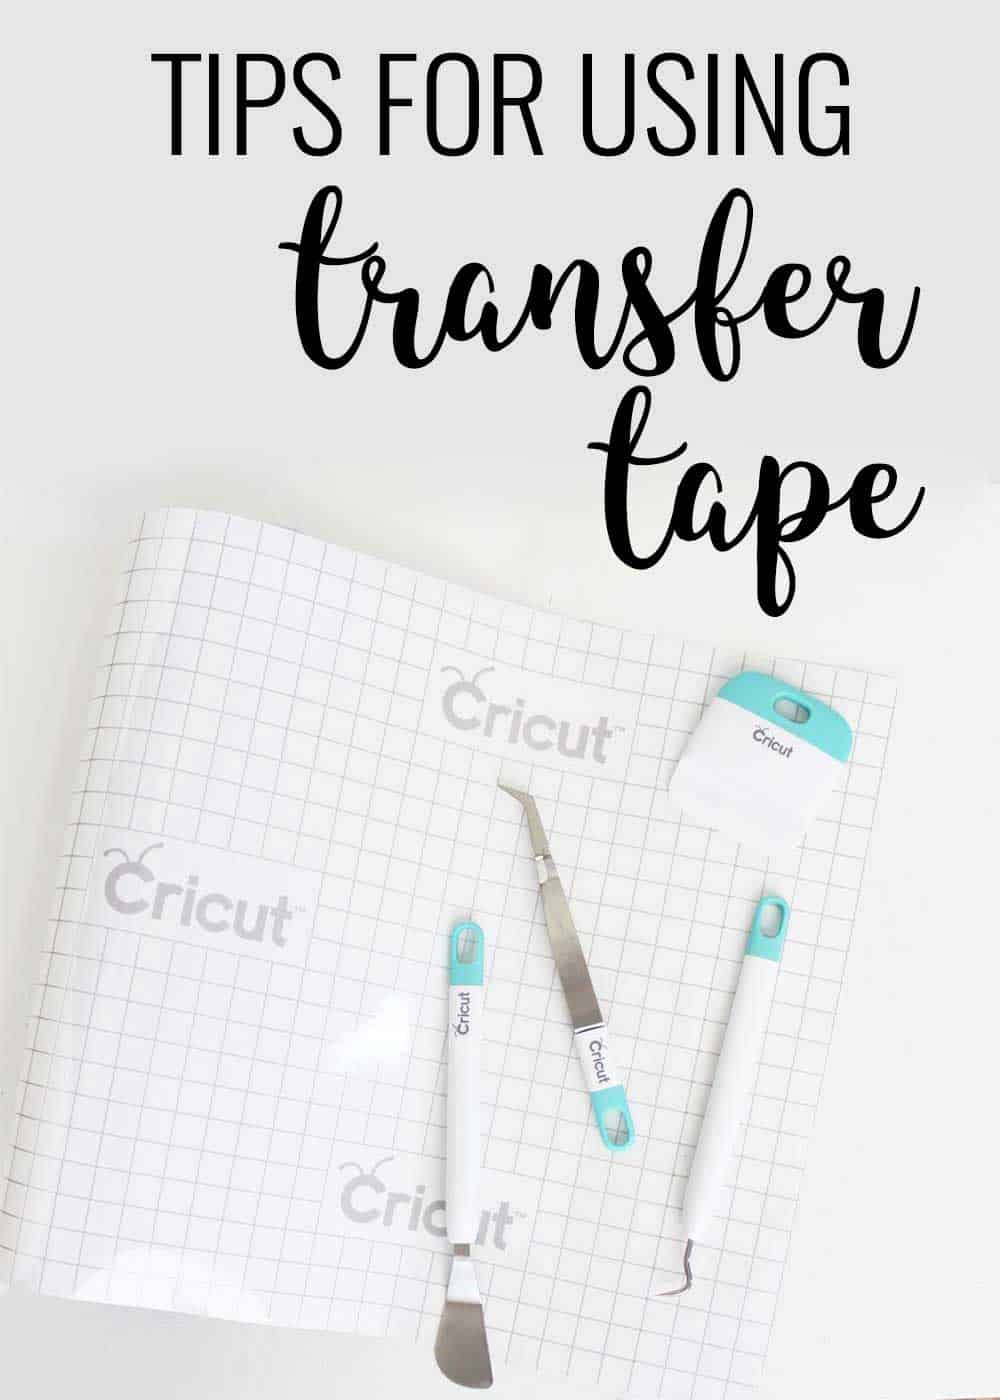
What is Cricut transfer paper and how to use it?
Cricut transfer paper is a must-have tool when it comes to working with vinyl, iron-on, or any other materials that you want to transfer onto a surface. Cricut transfer paper comes in a roll or sheet and has a tacky surface, which is used to pick up your designs from the cutting mat.
Here's how you can use transfer paper with your Cricut machine:
- First, design and cut your project using your Cricut machine.
- Once your design is ready, cut a piece of transfer paper to the same size as your project.
- Peel off the transfer paper's backing and place the sticky side on top of your design, making sure to smooth out any bubbles or wrinkles.
- Use a scraper tool to press the transfer paper firmly onto your design.
- Slowly peel off the transfer paper, and your design should stick to it.
- Now, place the transfer paper with the design onto the final surface and press it down with a scraper or squeegee tool, ensuring that the design is entirely in place.
- Gently peel off the transfer paper, and your design should stick to your final project.
That's it! Using transfer paper with your Cricut machine is that simple. Follow these steps, and you'll get perfect designs every time.
Pro Tips for Using Cricut Transfer Paper
Here are a few tips that will help you get the most out of your Cricut transfer paper:
- Use transfer paper that is slightly larger than your design to avoid wrinkles and make it easier to handle.
- If your transfer paper doesn't stick to your design, use a different one or try using transfer tape instead.
- If your design is intricate, use a weeding tool to remove the excess material before applying the transfer paper to your project.
- Be patient and take your time while applying the transfer paper to avoid mistakes.
How to Remove Transfer Paper from Vinyl?
Removing transfer paper from vinyl can be tricky, but it's not impossible. Follow these steps to remove transfer paper from vinyl easily:
- Start peeling the transfer paper from the corner of your vinyl design at a 45-degree angle.
- If the transfer paper doesn't come off entirely, use a scraper tool to press it firmly onto the vinyl and peel it again.
- If you're still having issues, try using heat. You can use a hairdryer to heat the vinyl design to make the transfer paper come off easily.
Can Cricut Transfer Paper be Reused?
While it's not impossible to reuse transfer paper, it's not recommended. Once the transfer paper has been used, it loses its tackiness, which makes it difficult to reuse. So it's best to use new transfer paper for each project to get the best results.
Conclusion of Cricut How to Use Transfer Paper
Using transfer paper with your Cricut machine may seem daunting, but with the right technique and tools, you can create flawless designs every time. Remember to use the correct transfer paper, cut it to the correct size, and be patient while applying it. By following these simple steps, you'll be able to transfer your designs with ease and create beautiful projects that you'll be proud of.
Question and Answer
Q: Can I use regular printer paper instead of transfer paper?
A: No, regular printer paper won't work for transferring designs as it doesn't have the tackiness required to pick up vinyl, iron-on, or other materials.
Q: Can I use transfer paper more than once?
A: While it's not impossible to reuse transfer paper, it's not recommended, as it loses its tackiness after one use.
Q: How do I avoid bubbles and wrinkles while using transfer paper?
A: You can avoid bubbles and wrinkles by using transfer paper that is slightly larger than your design and smoothing out any bumps with a scraper tool while applying the transfer paper. It's important to be patient and take your time while applying the transfer paper to avoid mistakes.
Q: How do I remove transfer paper from my final project?
A: Remove transfer paper from your final project by gently peeling it away at a 45-degree angle. If it doesn't come off easily, use a scraper tool or apply heat to make it easier to remove.
Related Images
Silhouette Vinyl On Canvas: 6 Tips To Success! - Silhouette School

How To Use Vinyl Transfer Paper (Vinyl Transfer Tape) - Pins And

Free Printable Iron On Transfers For T Shirts - Free Printable
DIY Craft Projects Ideas And Fall Craft Projects For 3 Year Olds. Pics

How To Use Cricut Transfer Tape - Pretty Providence